
Do you ever wonder how projectors remove the blank wall and give a magnificent cinematic face? It is a process that combines fascinating science, avant-garde technology, and a modicum of artistry. This metamorphosis gives way to exquisitely clear images, whether in the coziness of your own home or outdoors on a starry night.
By illuminating the workings of projectors, you can feel the thrill of movies. In this blog, we walk through how images are projected, projector technological developments over the years, and a few simple tips for achieving picture perfection, whether indoors, outdoors, or starting with a retractable screen.
Understanding Projection Technology
1. The Basics of Projection
Projection technology has come a long way from its film-based origins, nowadays with digital systems, mostly DLP or liquid crystal displays relied upon:
DLP: This uses thousands of micro-mirrors to reflect light. A bright lamp shines through a spinning color wheel onto these mirrors to produce bright images with sharp details.
LCD: Light goes through the liquid crystals and is split up into red, green, and blue beams by a prism. This effective combination of beams will result in an image that is rich and full of colors.
Each of these technologies has its advantages, with DLP being better suited for sharpness, while LCD offers better brightness and color accuracy in many cases when doing so. Both of them will give the viewer a quality environment.
2. Importance of Projector Screens
The right projector screen can significantly enhance the quality of an image. Screens are called upon to provide brightness, contrast, and clarity while reducing interference from the ambient light.
Ambient Light Rejecting (ALR) Screens: This minimizes ambient light reflections to display images in a well-lit room, making these screens most appropriate for use in large spaces that encounter high natural light.
Transparent Screens: More sophisticated options include those of a transparent nature, where floating images appear mid-air; lens technology preserves clarity and brightness, even against an illuminated background.
Having the correct projector and projector screen can allow for good visuals when it comes down to such things as home theaters, presentations, or creative displays.
How Images Are Projected on the Screen
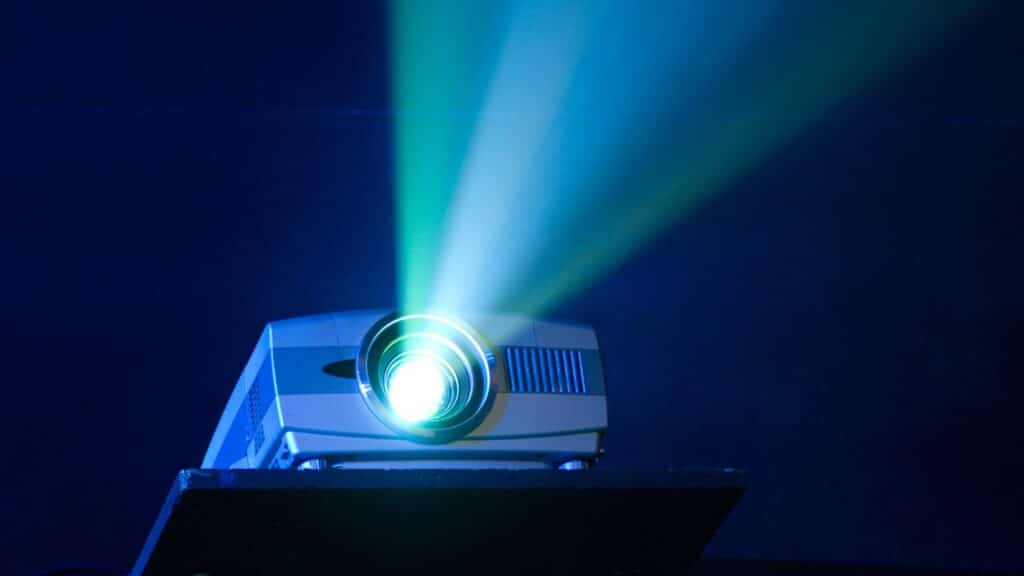
Projecting images onto a screen is quite a technical business about lights, optics, and meticulous alignment. Here is a simplified breakdown of how it works:
1. The Light Source
Every projector begins with a projector’s light source- from LED, a laser, to conventional lamps. Brightness will be determined by the intensity of the light, which is measured in lumens.
- Higher Lumens best for the outside setup or for well-lit rooms.
- Lower Lumens-best suited for dimmer environments.
2. The Image Generation
- DLP: Digital Light Processing uses microscopic mirrors to reflect light. It produces deep colors and prompt refresh rates.
- LCD: Light passes through panels for sharper images with greater contrast.
- LCoS: Liquid Crystal on Silicon combines both DLP and LCD for better image quality.
3. Lens and Focus
This part directs the light; the projector lens enlarges and throws the image onto any available screen. The right adjustment on focus alignment can make the image sharp and clear.
This process ensures that what we see on the screen is bright, detailed, and sharp.
Achieving Perfect Projected Images
To get clear images projected on the screen, a number of factors should be taken into account.
1. Resolution
Resolution is a measure of how sharp the image is. The higher the resolution, the finer the details.
- Full HD (1920×1080)
- 4K (3840×2160)
- 4K has four times more pixel density than Full HD.
2. Brightness
Brightness, measured in lumens, makes sure that the projected images are impeccably seen, even in high ambient light.
- A higher lumen rating is vital for well-lit rooms.
3. Contrast Ratio
While the contrast ratio differentiates between light and dark image portions, the higher contrast ratio represents blacker blacks and brighter colors.
Optimizing these factors can ensure for you a clarity of image and vividness every time.
Common Issues in Images and Their Solutions
Issue 1- Unfocused Settings
- Solution: You can focus using the focus ring on the projector. Specific projectors even support automatic focusing.
Issue 2- Projector and Screen Misalignment
- Solution: You will need to ensure that the projector is stationed perpendicular to the screen. Also, stick to keystone correction should you need precise alignment.
Issue 3- Resolution Not High Enough
- Solution: Helming a projector with 1080p resolution would serve best under the resolution conditions. It is always good to have a 4K resolution for larger setups for better picture quality.
Projector Screen Options for Clear Images
1. Projector Screen TV
A projector screen TV merges TV features with a projector’s large display.
- Advantages: Bright and vivid images, even in bright rooms.
- Ideal For: Daily use in living rooms and entertainment areas.
2. Projector Screen Outdoor
Outdoor screens are built to withstand environmental conditions.
- Features: Portable, weather-resistant, and bright.
- Pro Tip: Use projectors with 3000+ lumens for outdoor clarity.
3. Projector Screen Indoor Retractable
Retractable screens are perfect for space-saving and multi-use rooms.
- Features: Motorized or manual options are available to roll up when not in use.
- Advantages: Blends seamlessly into any decor.
The Evolution of Movie Projection: From Shadow Play to Digital Masterpieces
From shadow plays to digital projections, it shows how far projecting things have progressed. It truly is an evolutionary leap forward, laden with technological transitions.
Ancient Times: Roots of Image Projection
Long before the film, shadow plays used light to tell stories; natural sources of light cast images on a screen as shadow and scripted onto the audience.
1600s: The Magic Lantern
The magic lantern was one of the very basic photo projectors. It projected images contained inside glass slides.
Late 19th Century: Cinema Shows up
Birth of the cinema projector towards the end of the 19th century. The early film projectors showed moving images on rolls of film.
Early 20th Century: Start of The Color
The use of color film changed the landscape of the cinema very considerably in the 1900s. The life it introduces is no longer monochrome- the change from black-and-white to color.
Digital Revolution in the Late 20th Century
But in the 21st century, it has gone digital for better resolution and clarity.
Present: Ultra High Definition and Beyond
Digital projectors now afford stable management over every feature, contributing to image quality, even color production, contrast, and brightness, achieving a richer viewing experience.
Change in the area of the evolution of projection has revolutionized and made access to cinematic mastery available to every home viewer.
Tips for Brilliant Projected Images

1. Choose the Right Screen Material
The screen surface affects image quality.
- Matte White: Balanced colors, great for most projectors.
- High-Gain Screens: Boost brightness for rooms with ambient light.
- ALR Screens: Reduce glare and enhance contrast.
2. Control Ambient Light
Ambient light can wash out images. Block windows and dim indoor lights. Outdoors, avoid direct sunlight on the screen.
3. Maintain Proper Distance
Ensure the projector is placed correctly for the optimal throw ratio.
- Short-Throw Projectors: Ideal for small rooms.
- Long-Throw Projectors: Best for large spaces and outdoor setups.
4. Calibrate Your Projector
Adjust brightness, contrast, and color regularly. Most projectors have preset modes for different uses.
Advanced Technologies Transforming Projection
1. 4K and 8K Resolutions
- Higher resolutions provide sharper and more detailed images, even on large screens.
2. HDR (High Dynamic Range)
- HDR enhances colors and contrast, creating a more lifelike image.
3. Smart Projectors
- Modern projectors connect with streaming platforms, voice assistants, and smart home systems for a seamless experience.
FAQs
What Is The Difference Between DLP and LCD Projectors?
DLP projectors use micro mirrors for brighter, sharper images. LCD projectors pass light through liquid crystals, offering better color accuracy.
How Do I Choose The Right Projector Screen Size?
Consider room size, projector throw distance, and viewing angle. A good rule is to pick a screen 1.5 to 2 times the projector’s diagonal image size.
Are Motorized Projector Screens Worth The Investment?
Yes, motorized screens provide convenience, a clean look, and remote control. They’re ideal for multi-purpose rooms with limited space.
Can I Use A Projector For Daytime Viewing?
Yes, use a high-lumen projector (3000+ lumens) with an ambient light-rejecting (ALR) screen for clearer images in daylight.
What Is The Optimal Projector Brightness For Home Theaters?
For dark rooms, 1500-2500 lumens are enough. For rooms with ambient light, choose projectors with 3000+ lumens for brighter images.
Conclusion
Perfectly projected images on the screen are now more achievable than ever. By understanding key factors—such as light source, projector type, and screen material—you can elevate your viewing experience. Whether you’re hosting an outdoor movie night or setting up an indoor theater, the right tools and knowledge will turn your blurry images into stunning, high-definition visuals.
Transform your entertainment space today and enjoy the magic of perfect projections!
